-
Vous souhaitez réduire votre consommation de café ?
Suivez nos conseils pour trouver votre alternative naturelle, sans caféine, écoresponsable et (si possible) locale ! Huit kilos. Huit…
-

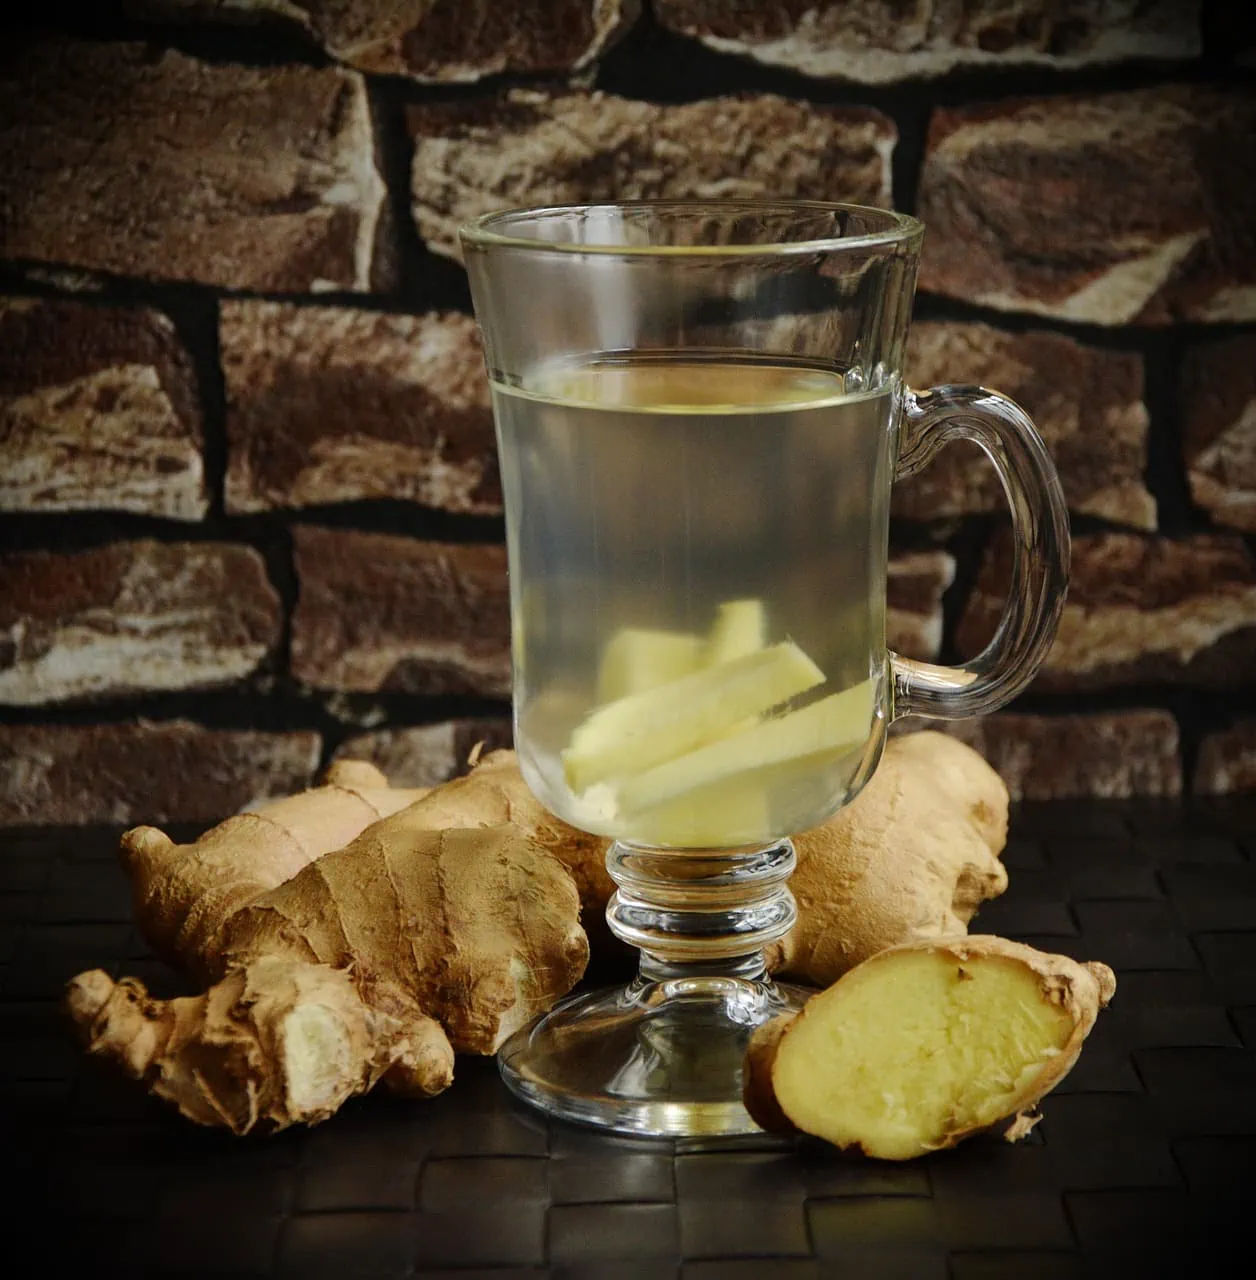
Coup de fouet vitaminé
la recette de l’infusion gingembre citron pour détoxifier et booster votre système immunitaire
-

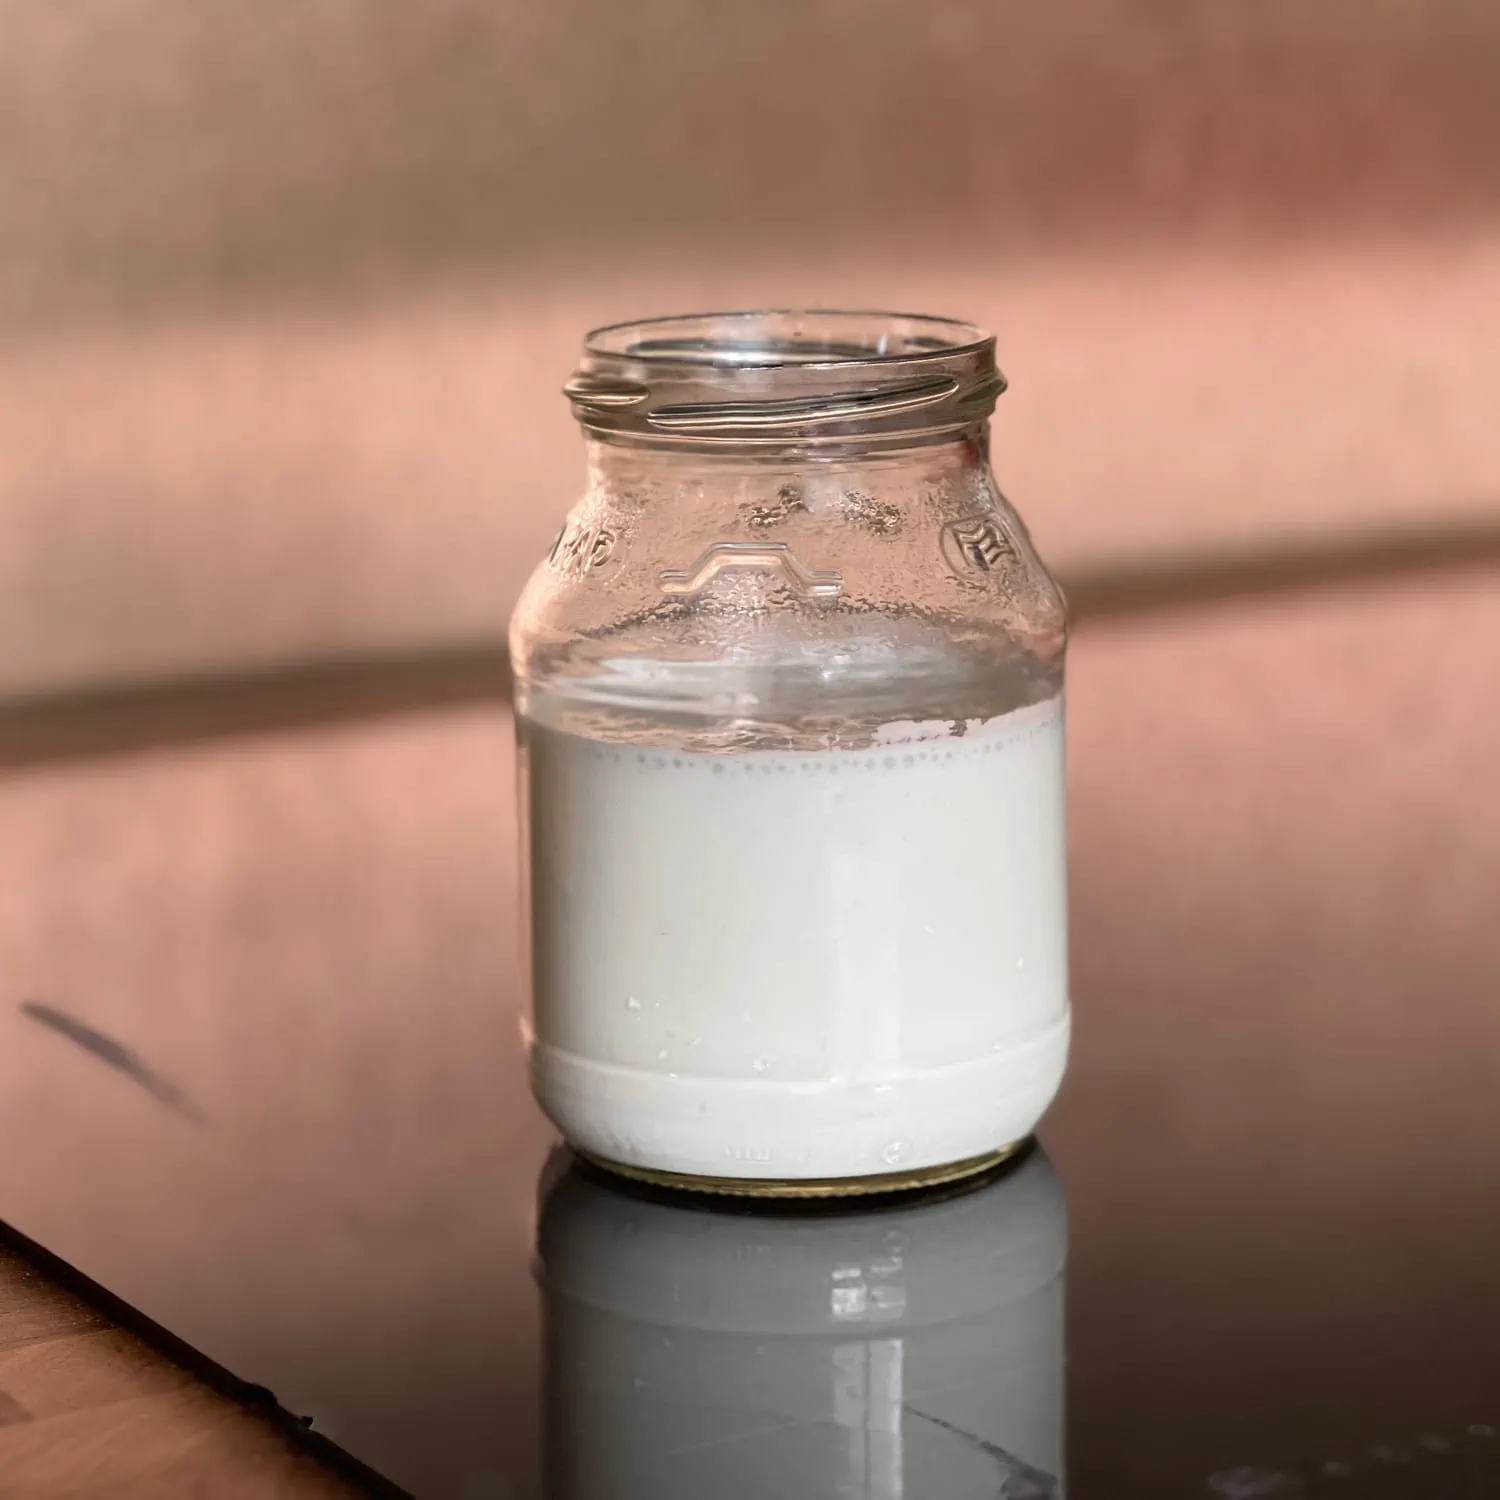
Recette : yoghourt sans yaourtière
Utiliser de préférence un lait frais et entier : meilleur est le lait, meilleurs seront les yoghourt !Pensez…
-

Recette : Pâtes maison
Ingrédients : Préparation : Vous avez essayé ? Taggez–nous !
-
Muffins à la banane Zéro Déchet
Des bananes mûres dans votre cuisine ? Voici une recette pour les utiliser !
-
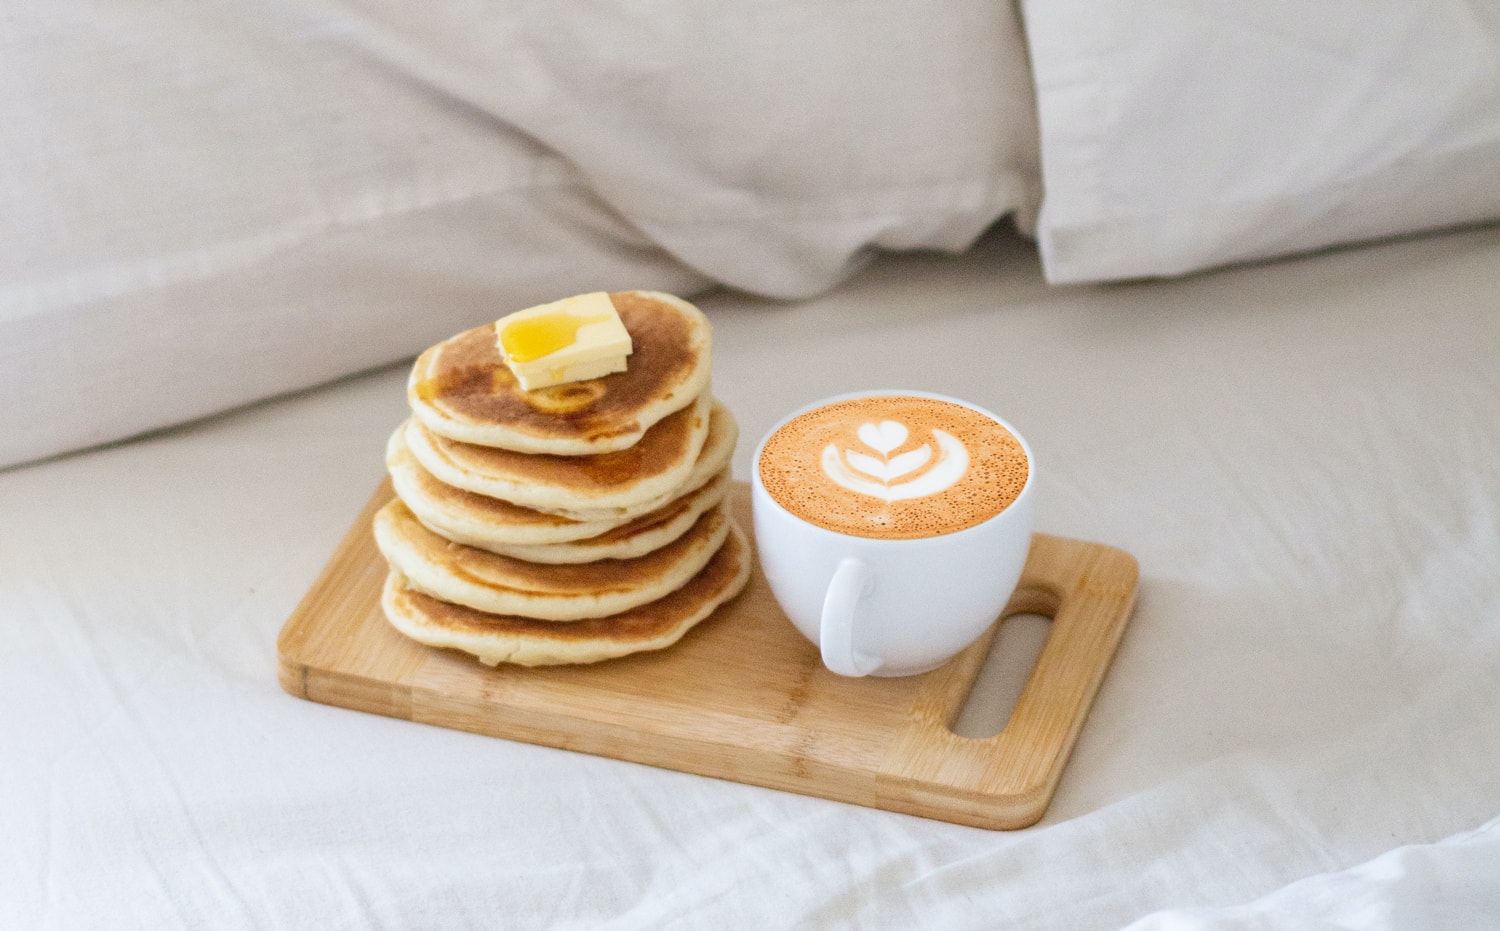
Crêpes and galettes
With the winter season and the semi-confinement in full effect, who’s not in the mood for some delicious…
-

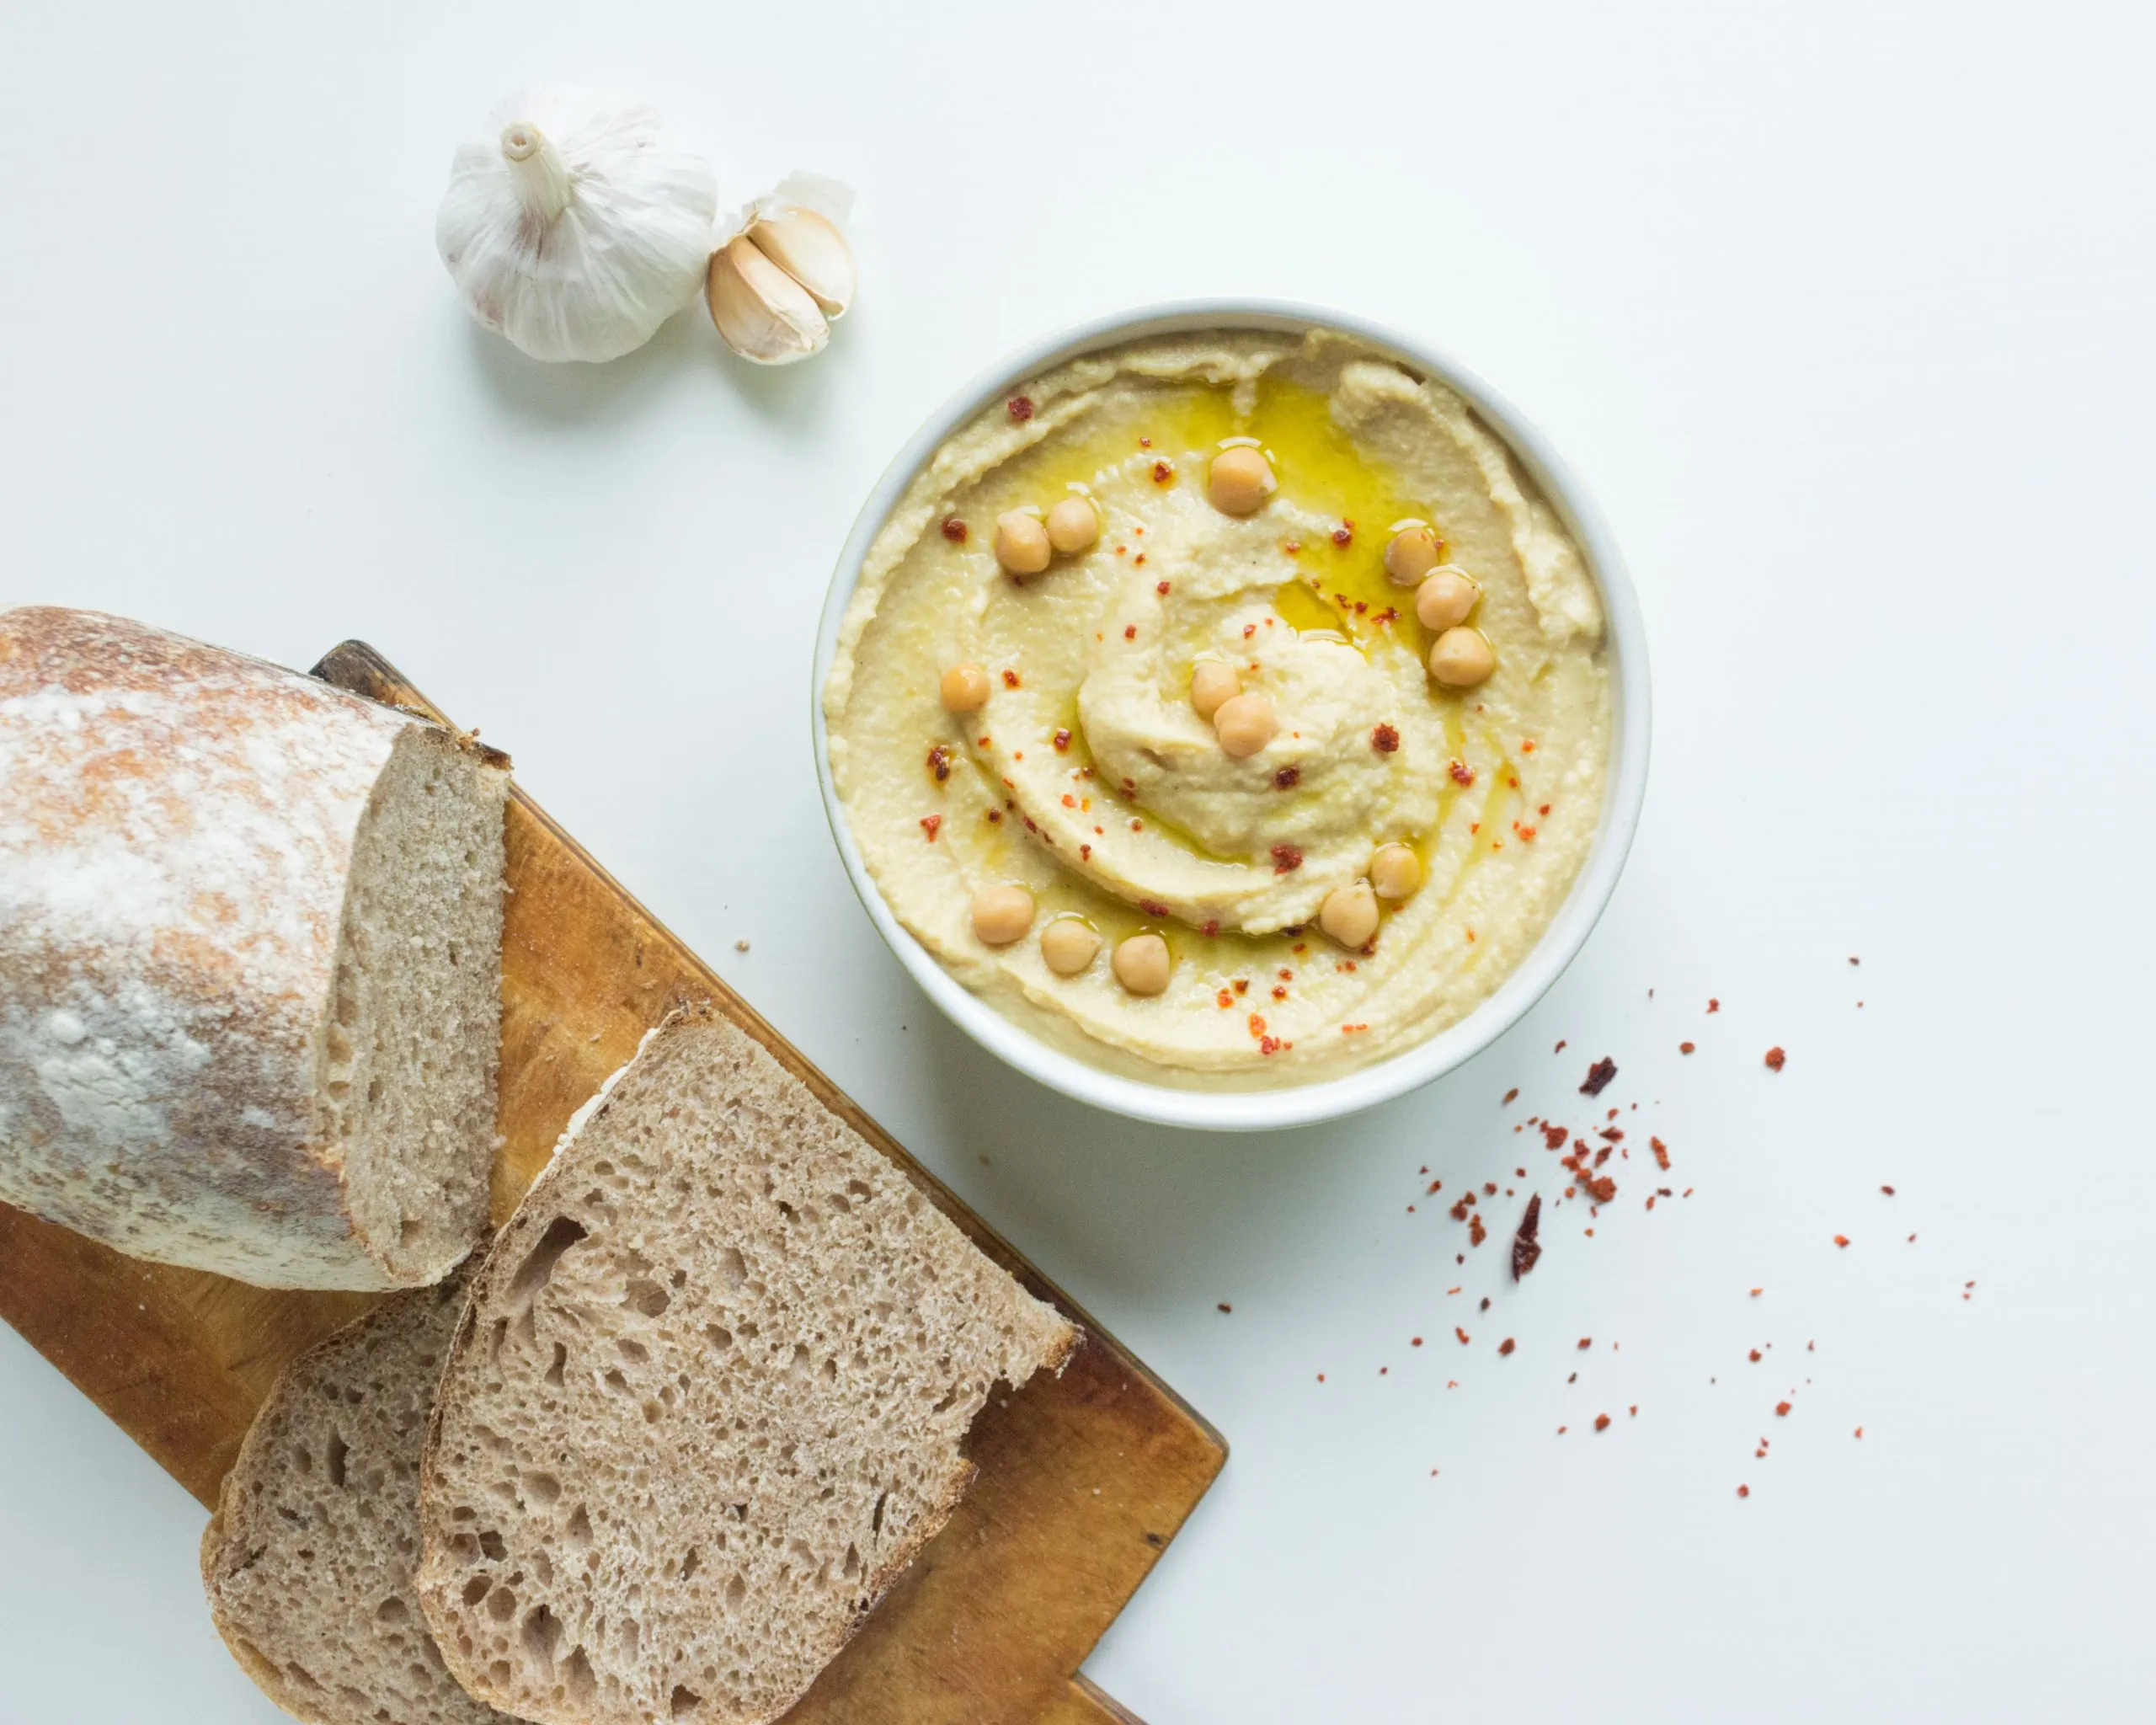
Houmous
Un délicieux dip du moyen-orient, un recette fraîche et facile ?
-
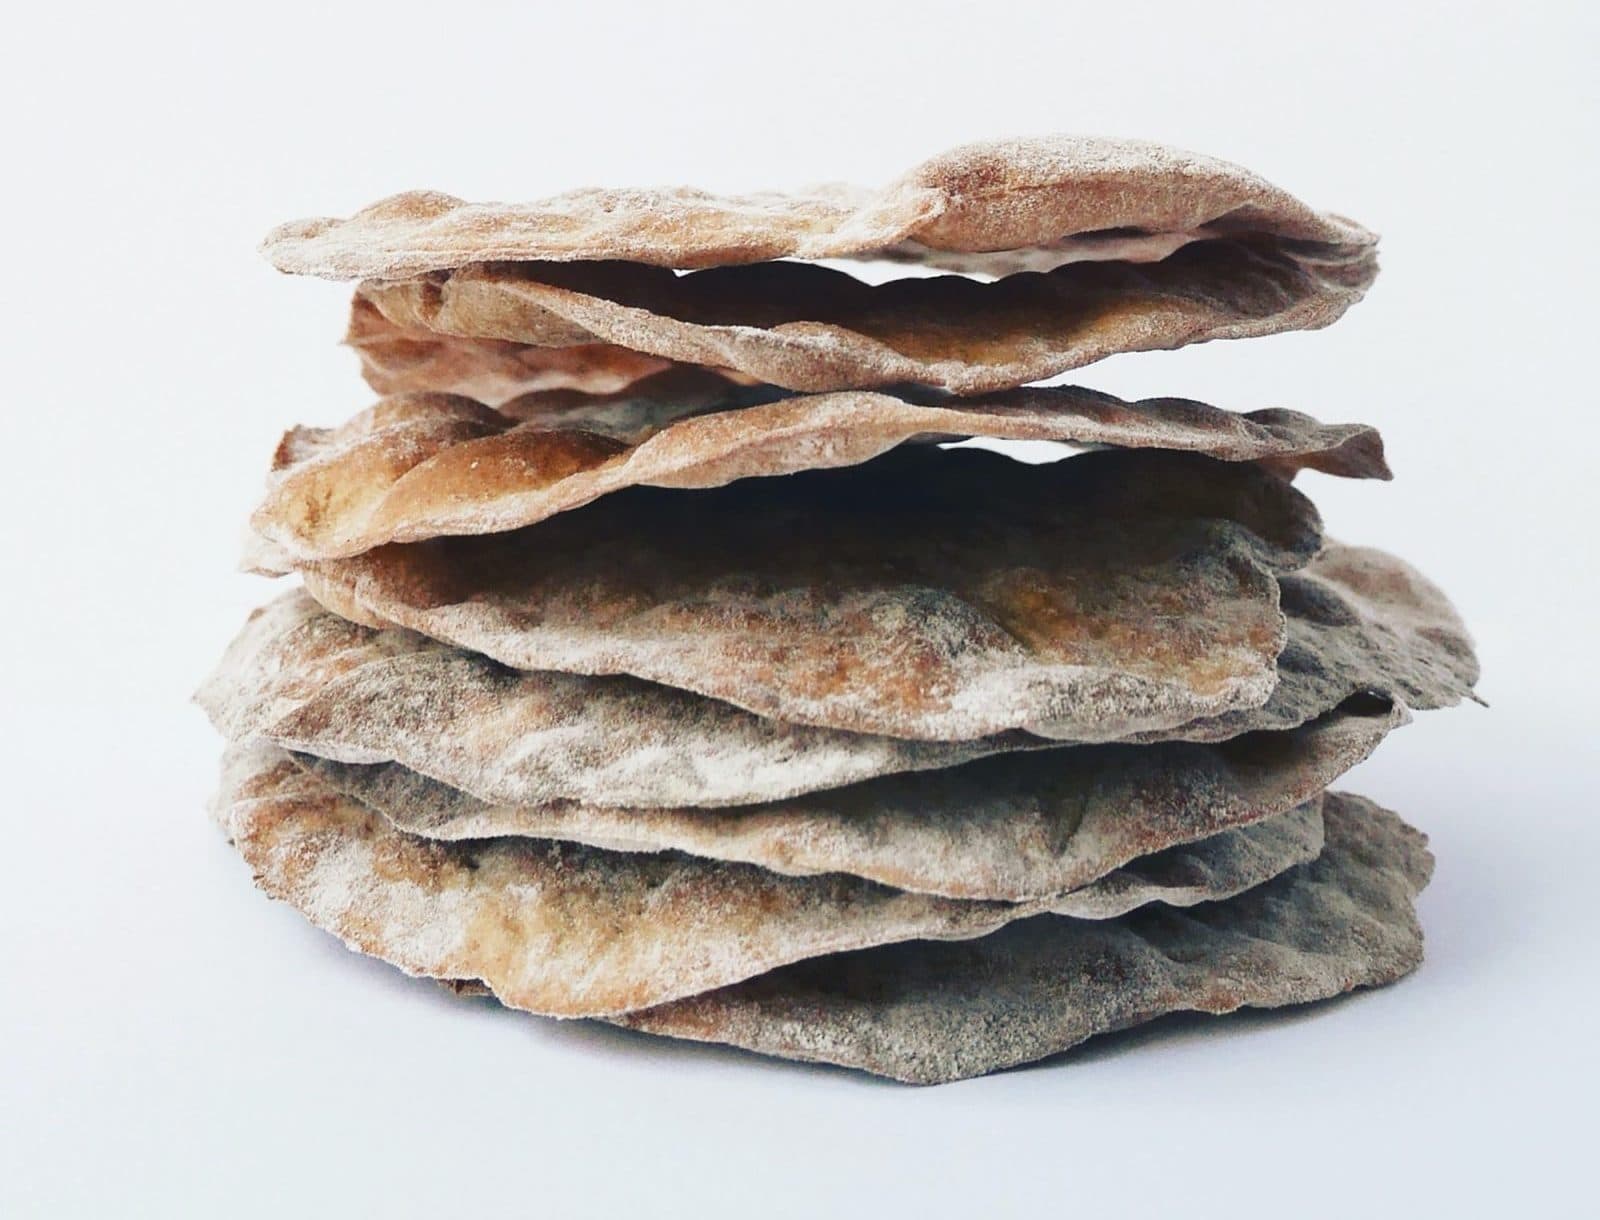
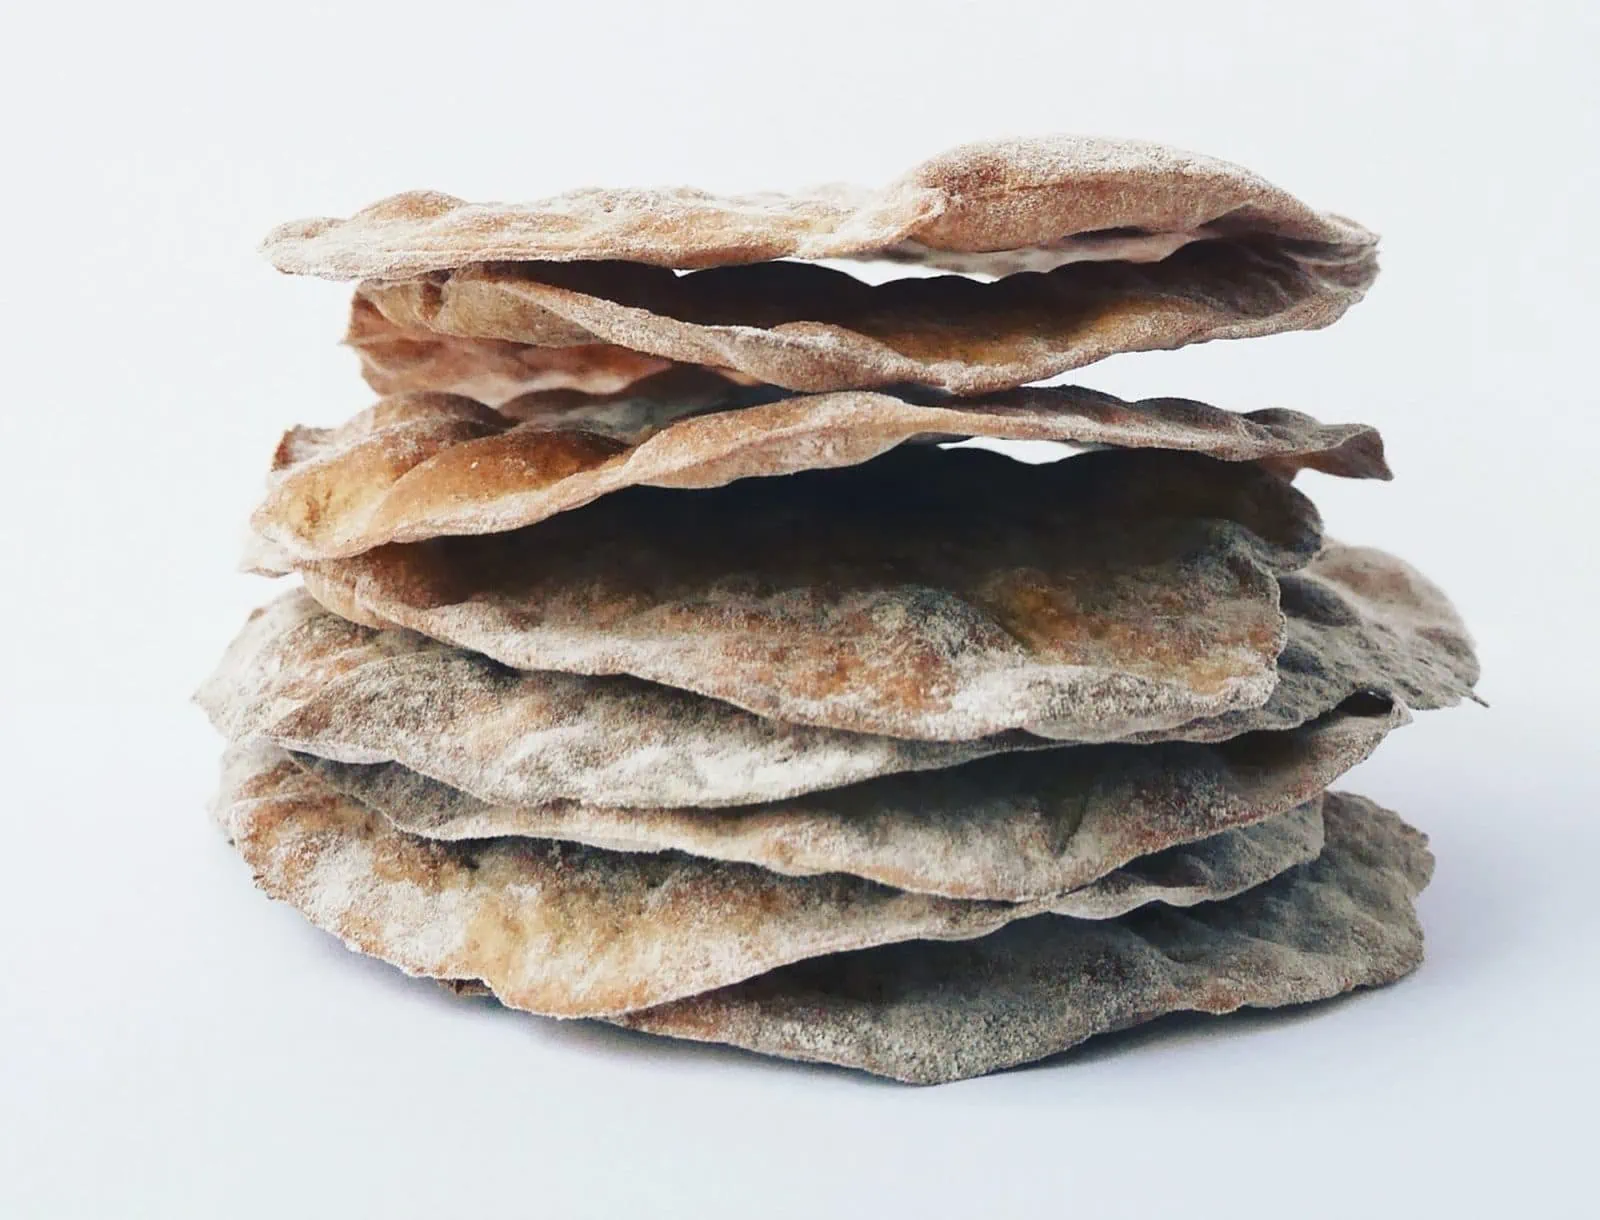
5 seeds crackers
Perfect for the aperitif, these delicious crackers ? crispy and natural tasting.
-
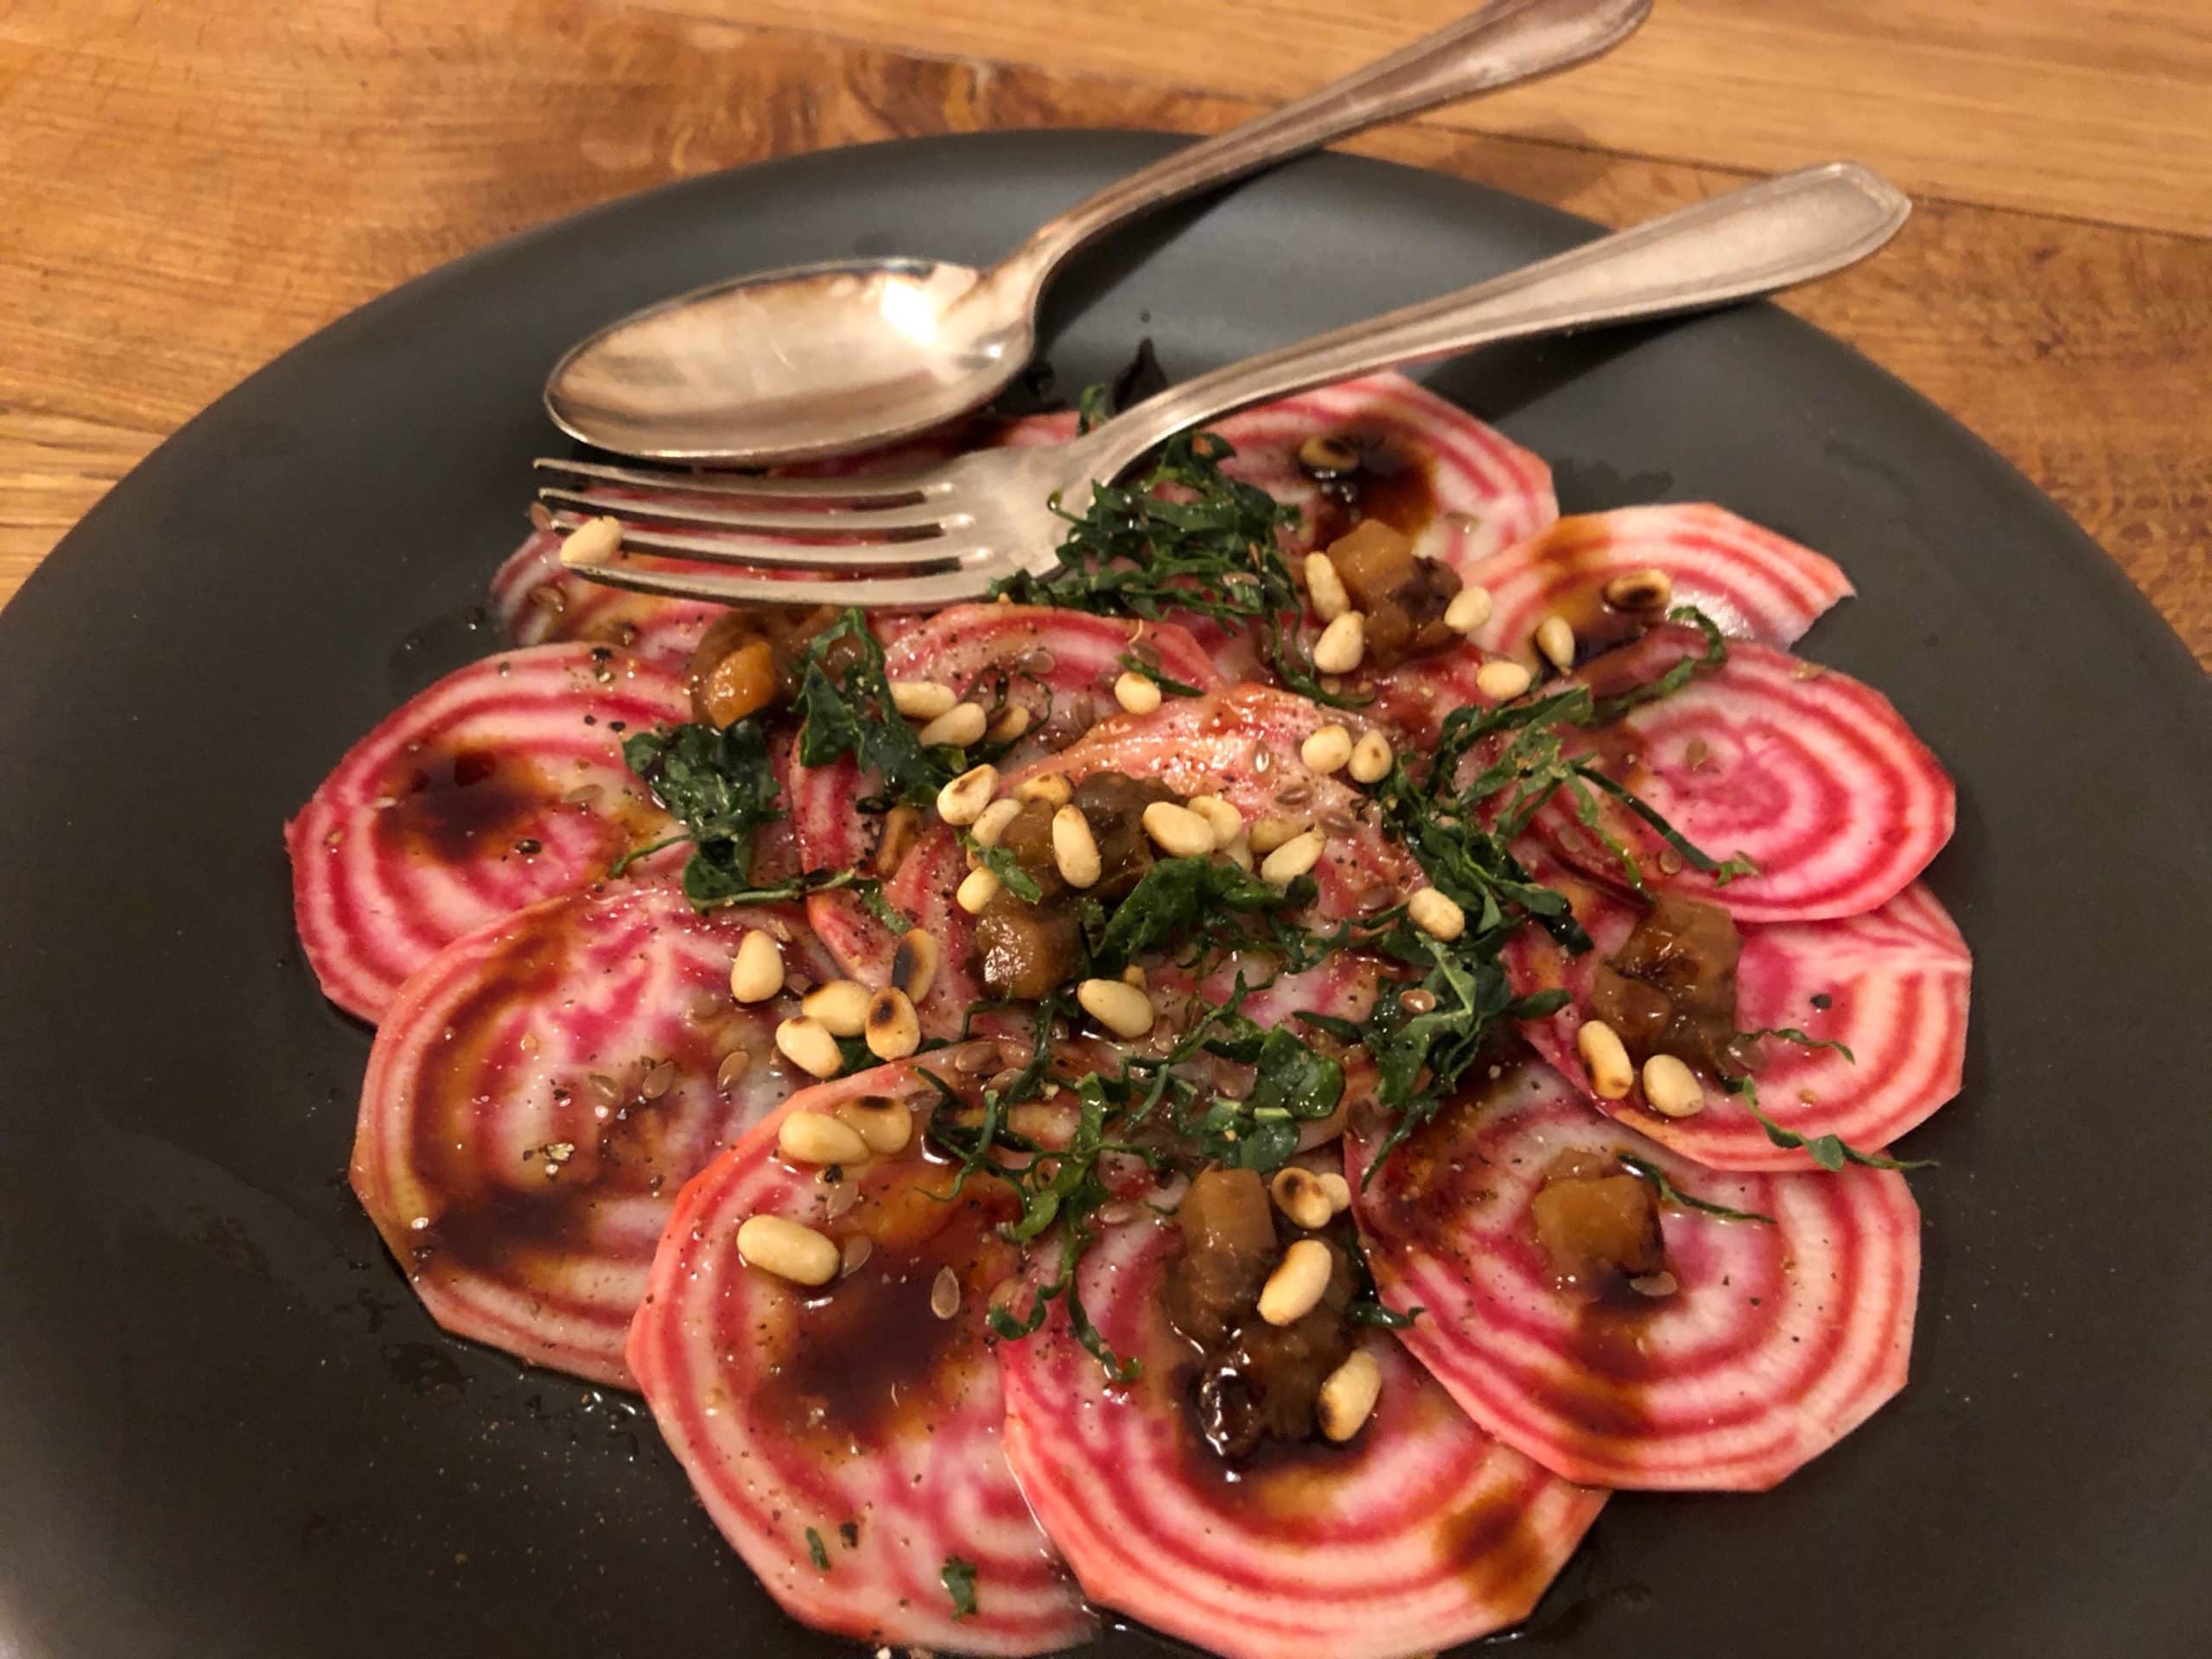
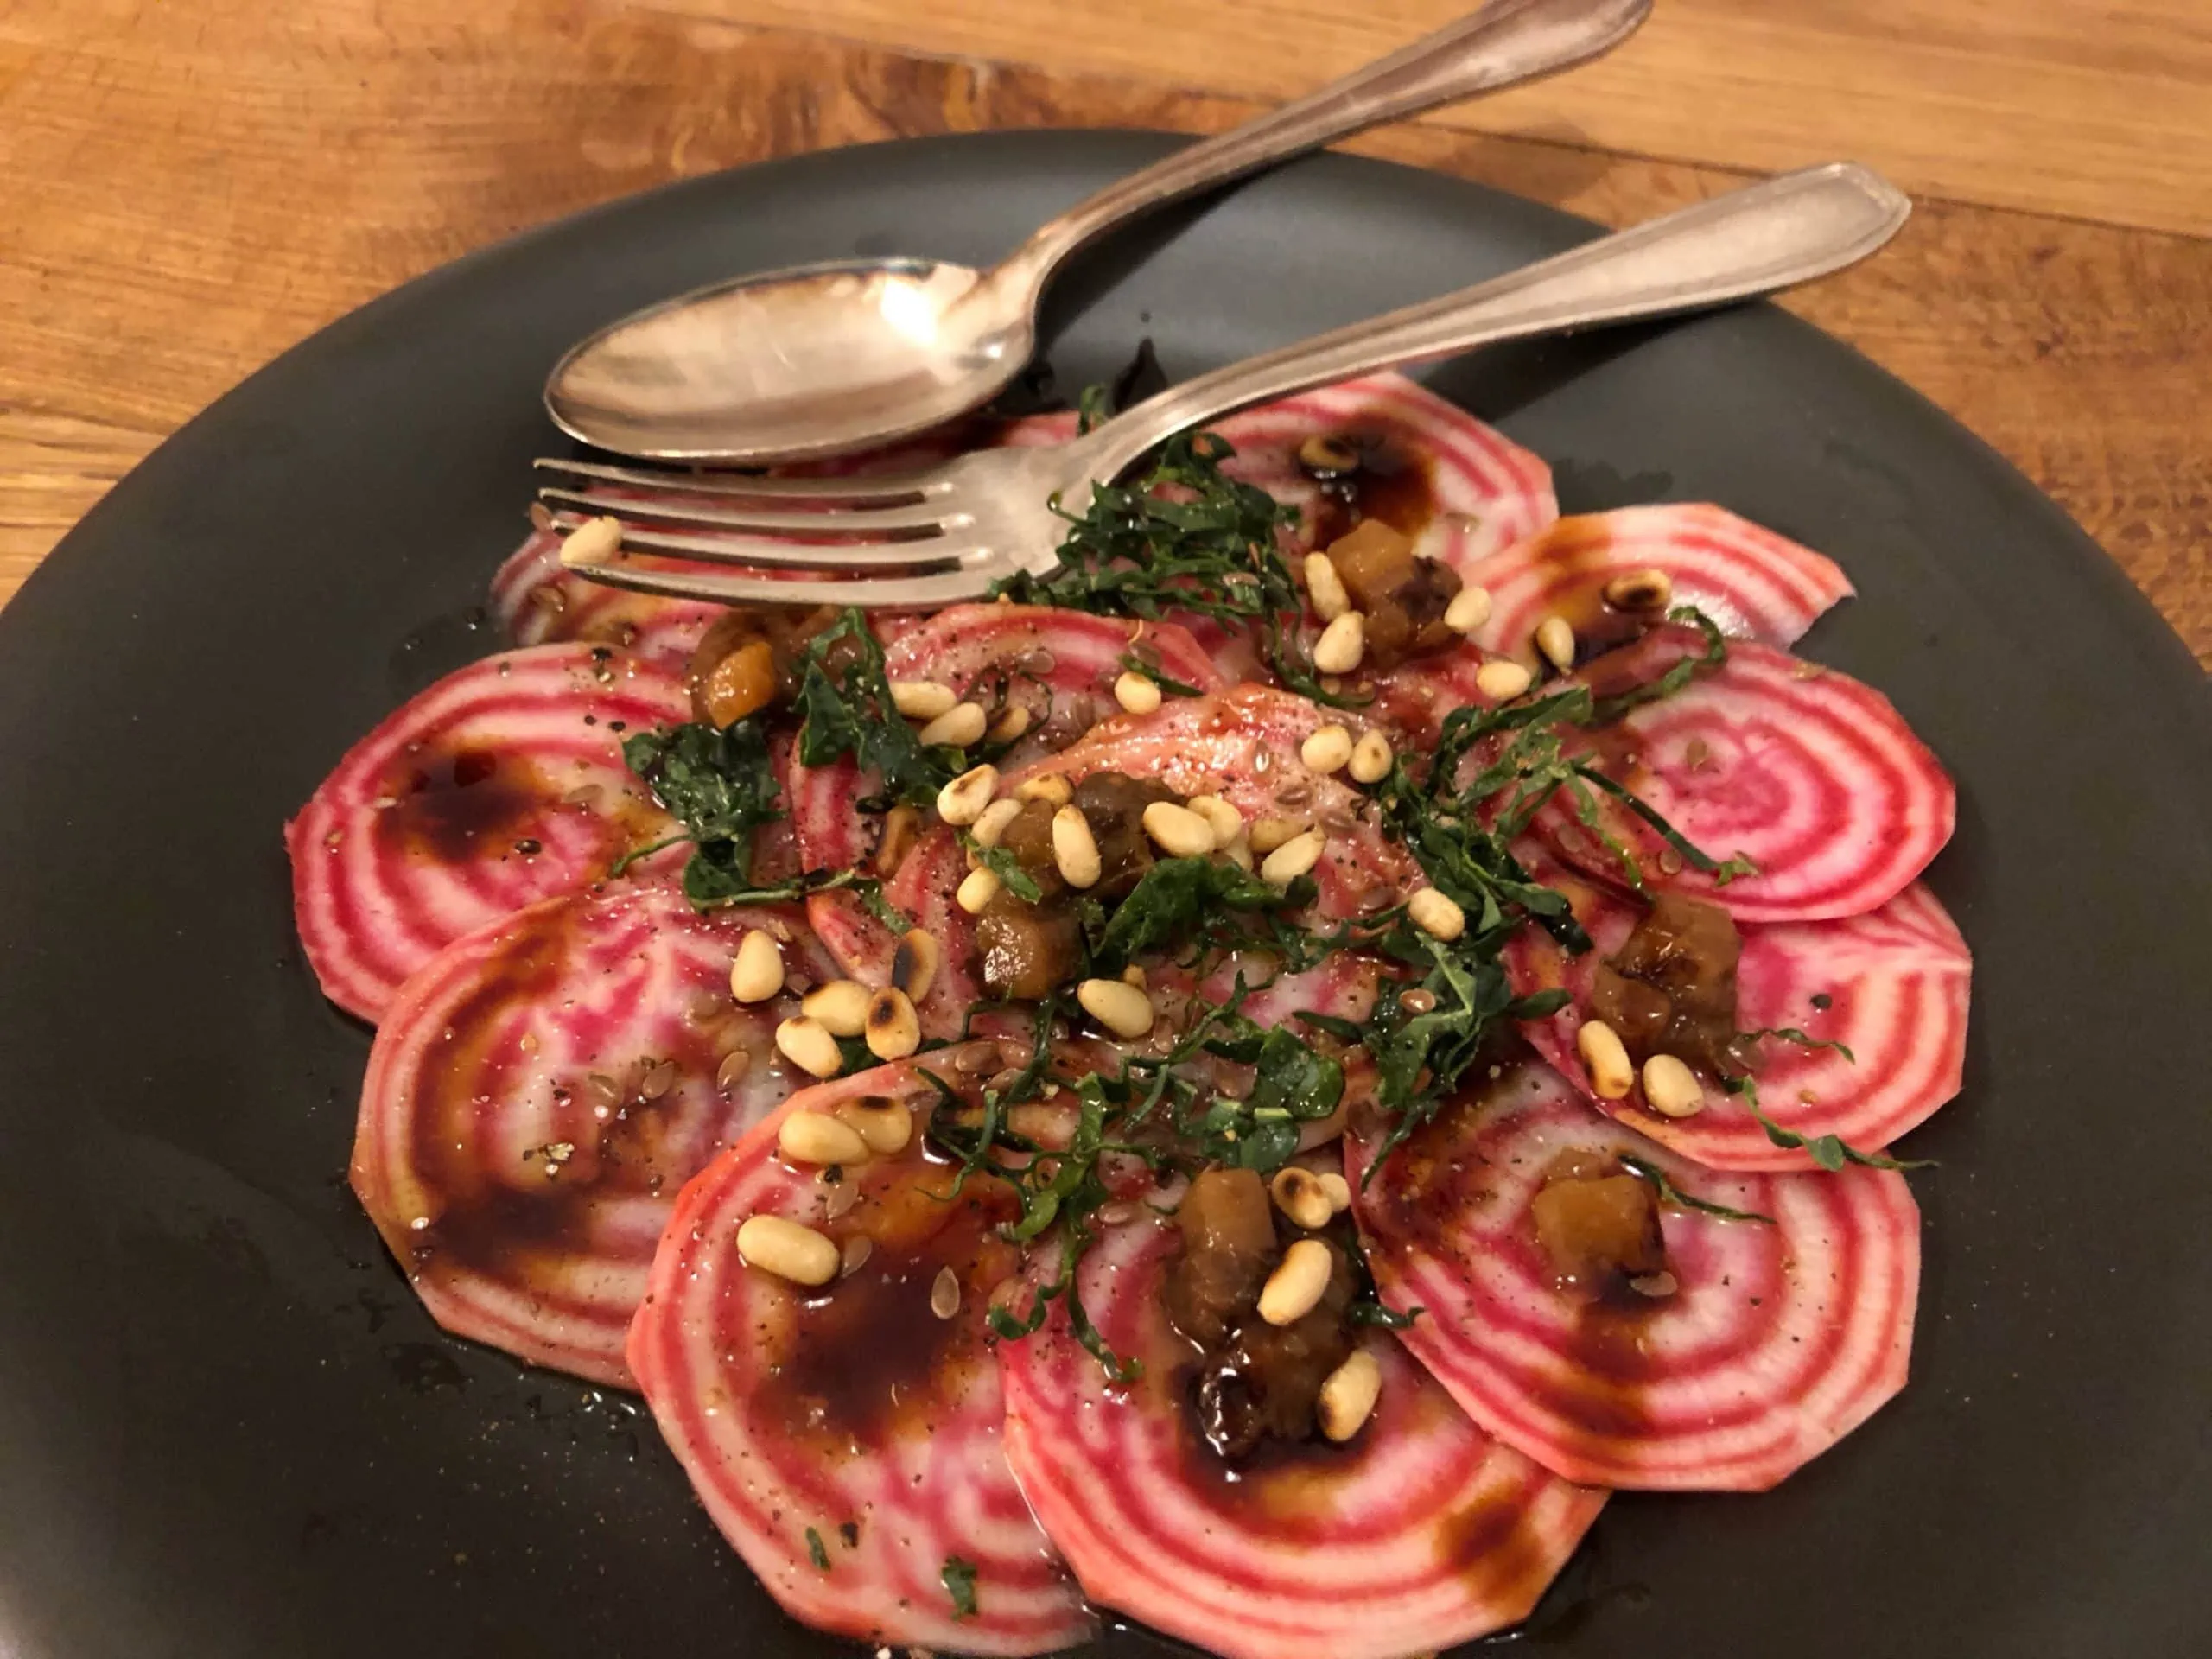
Recipe: chiogga beet carpaccio
A life full of colour, our recipe for Chiogga beet carpaccio ?️
-
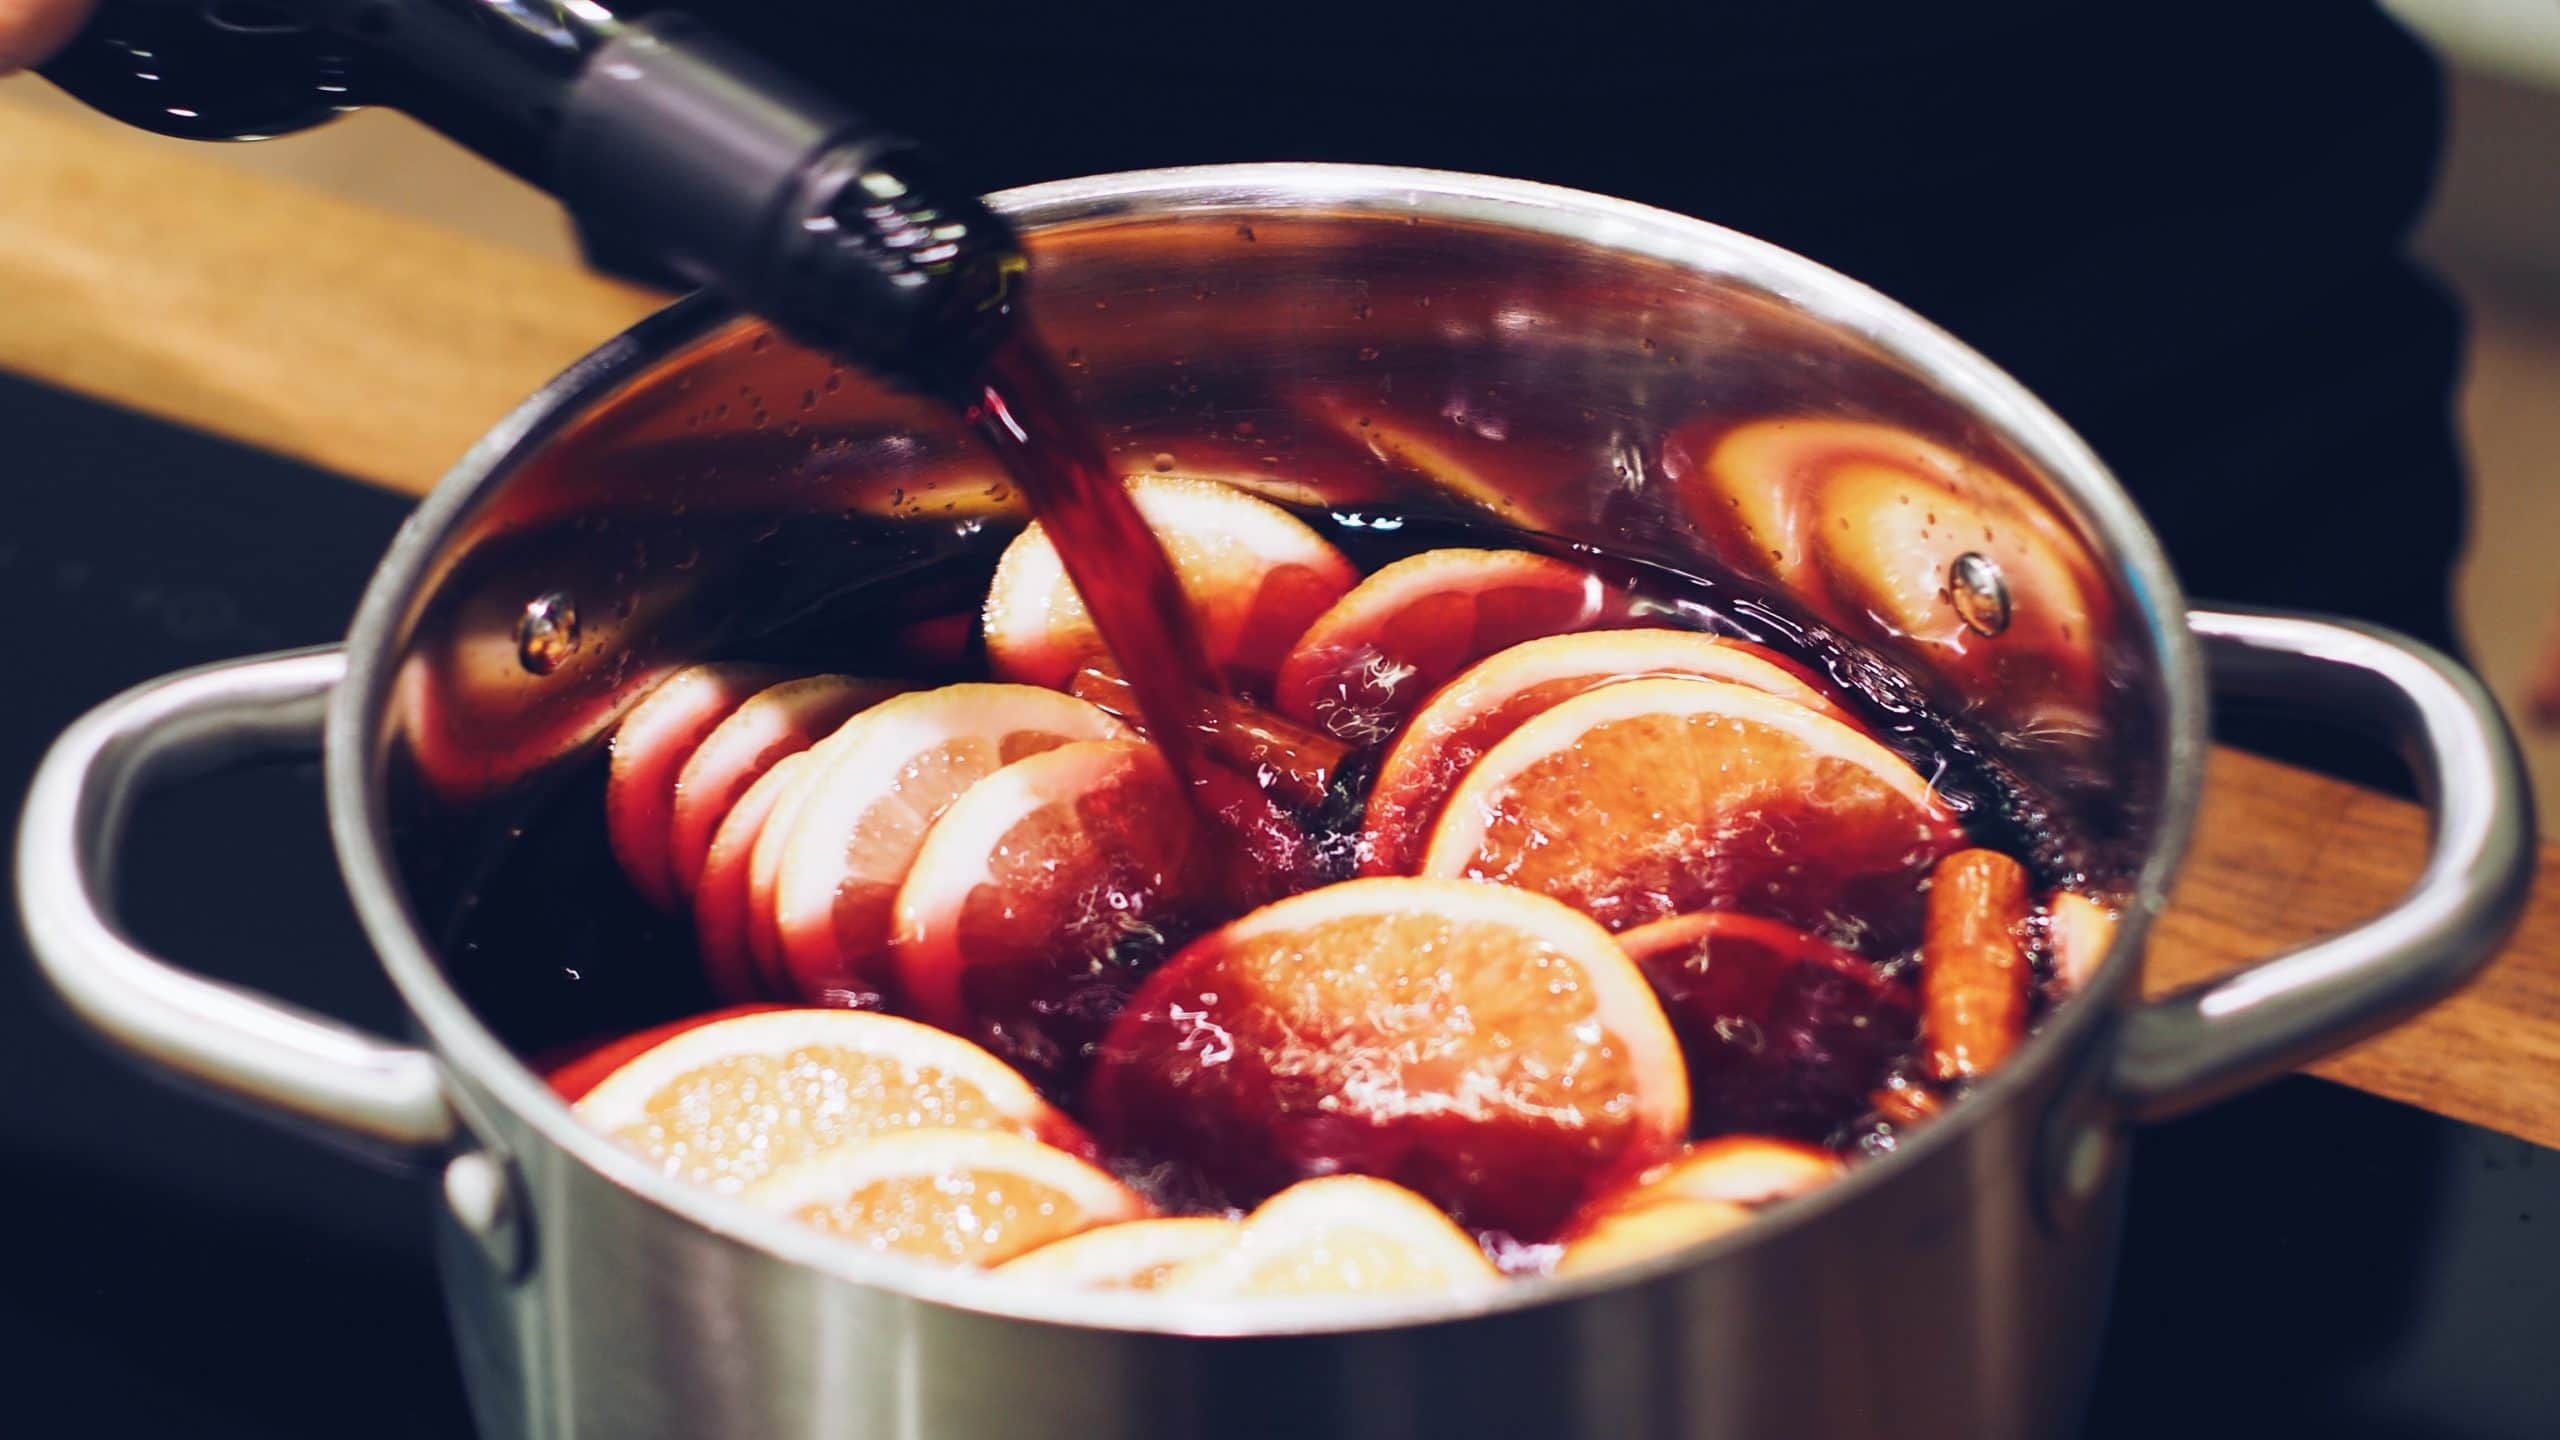
Recette de l’hiver: vin chaud aux épices
Le vin chaud traditionnel de la période de Noël – maintenant aussi pour la maison. ?
-
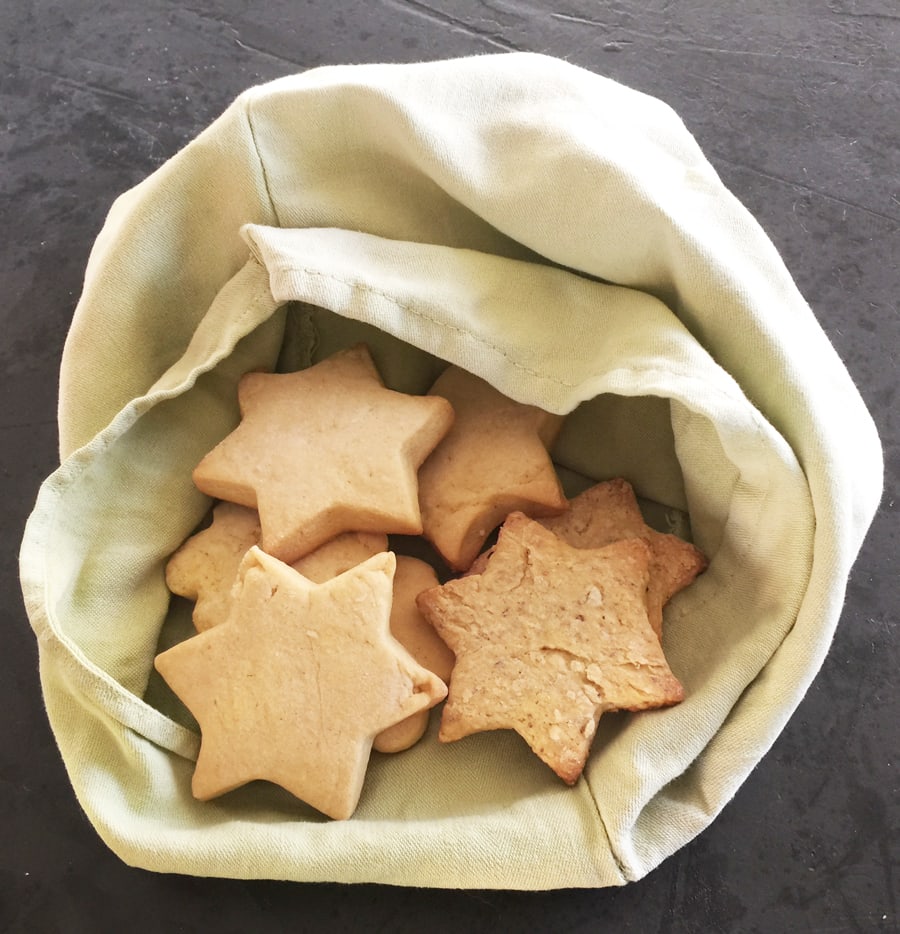
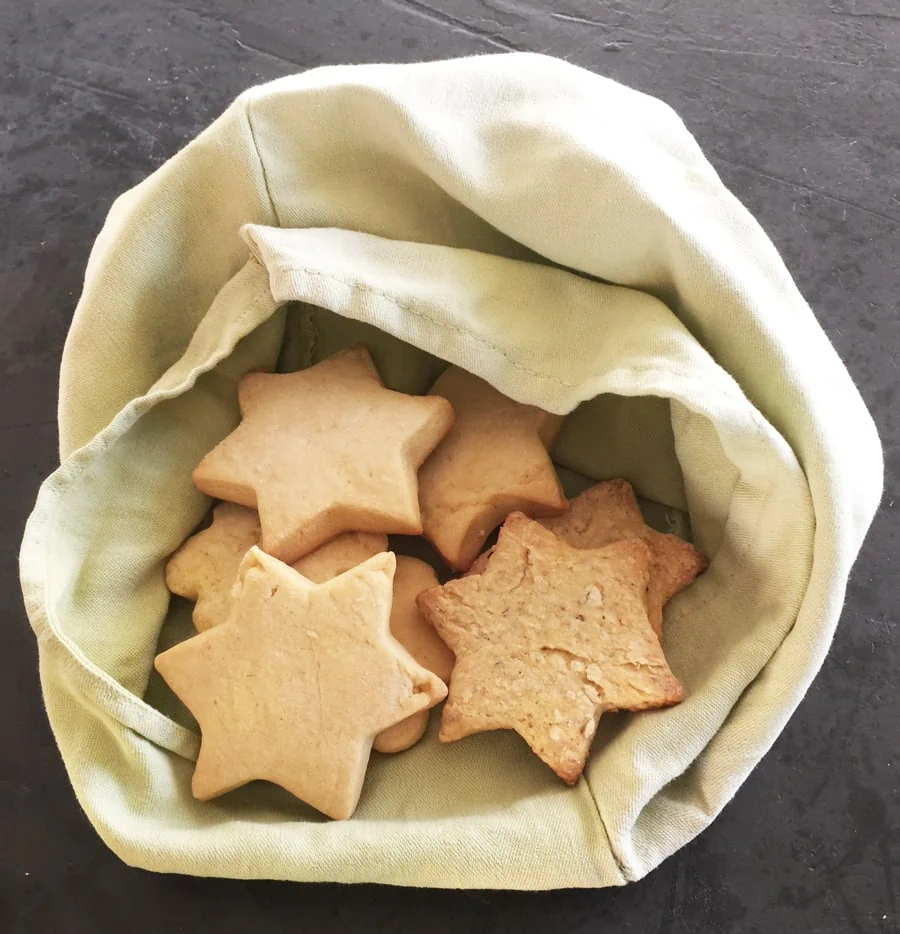
Recette: milanais – sablés de Noël
La pâtisserie de Noël classique et la plus populaire ? des Suisses.
-
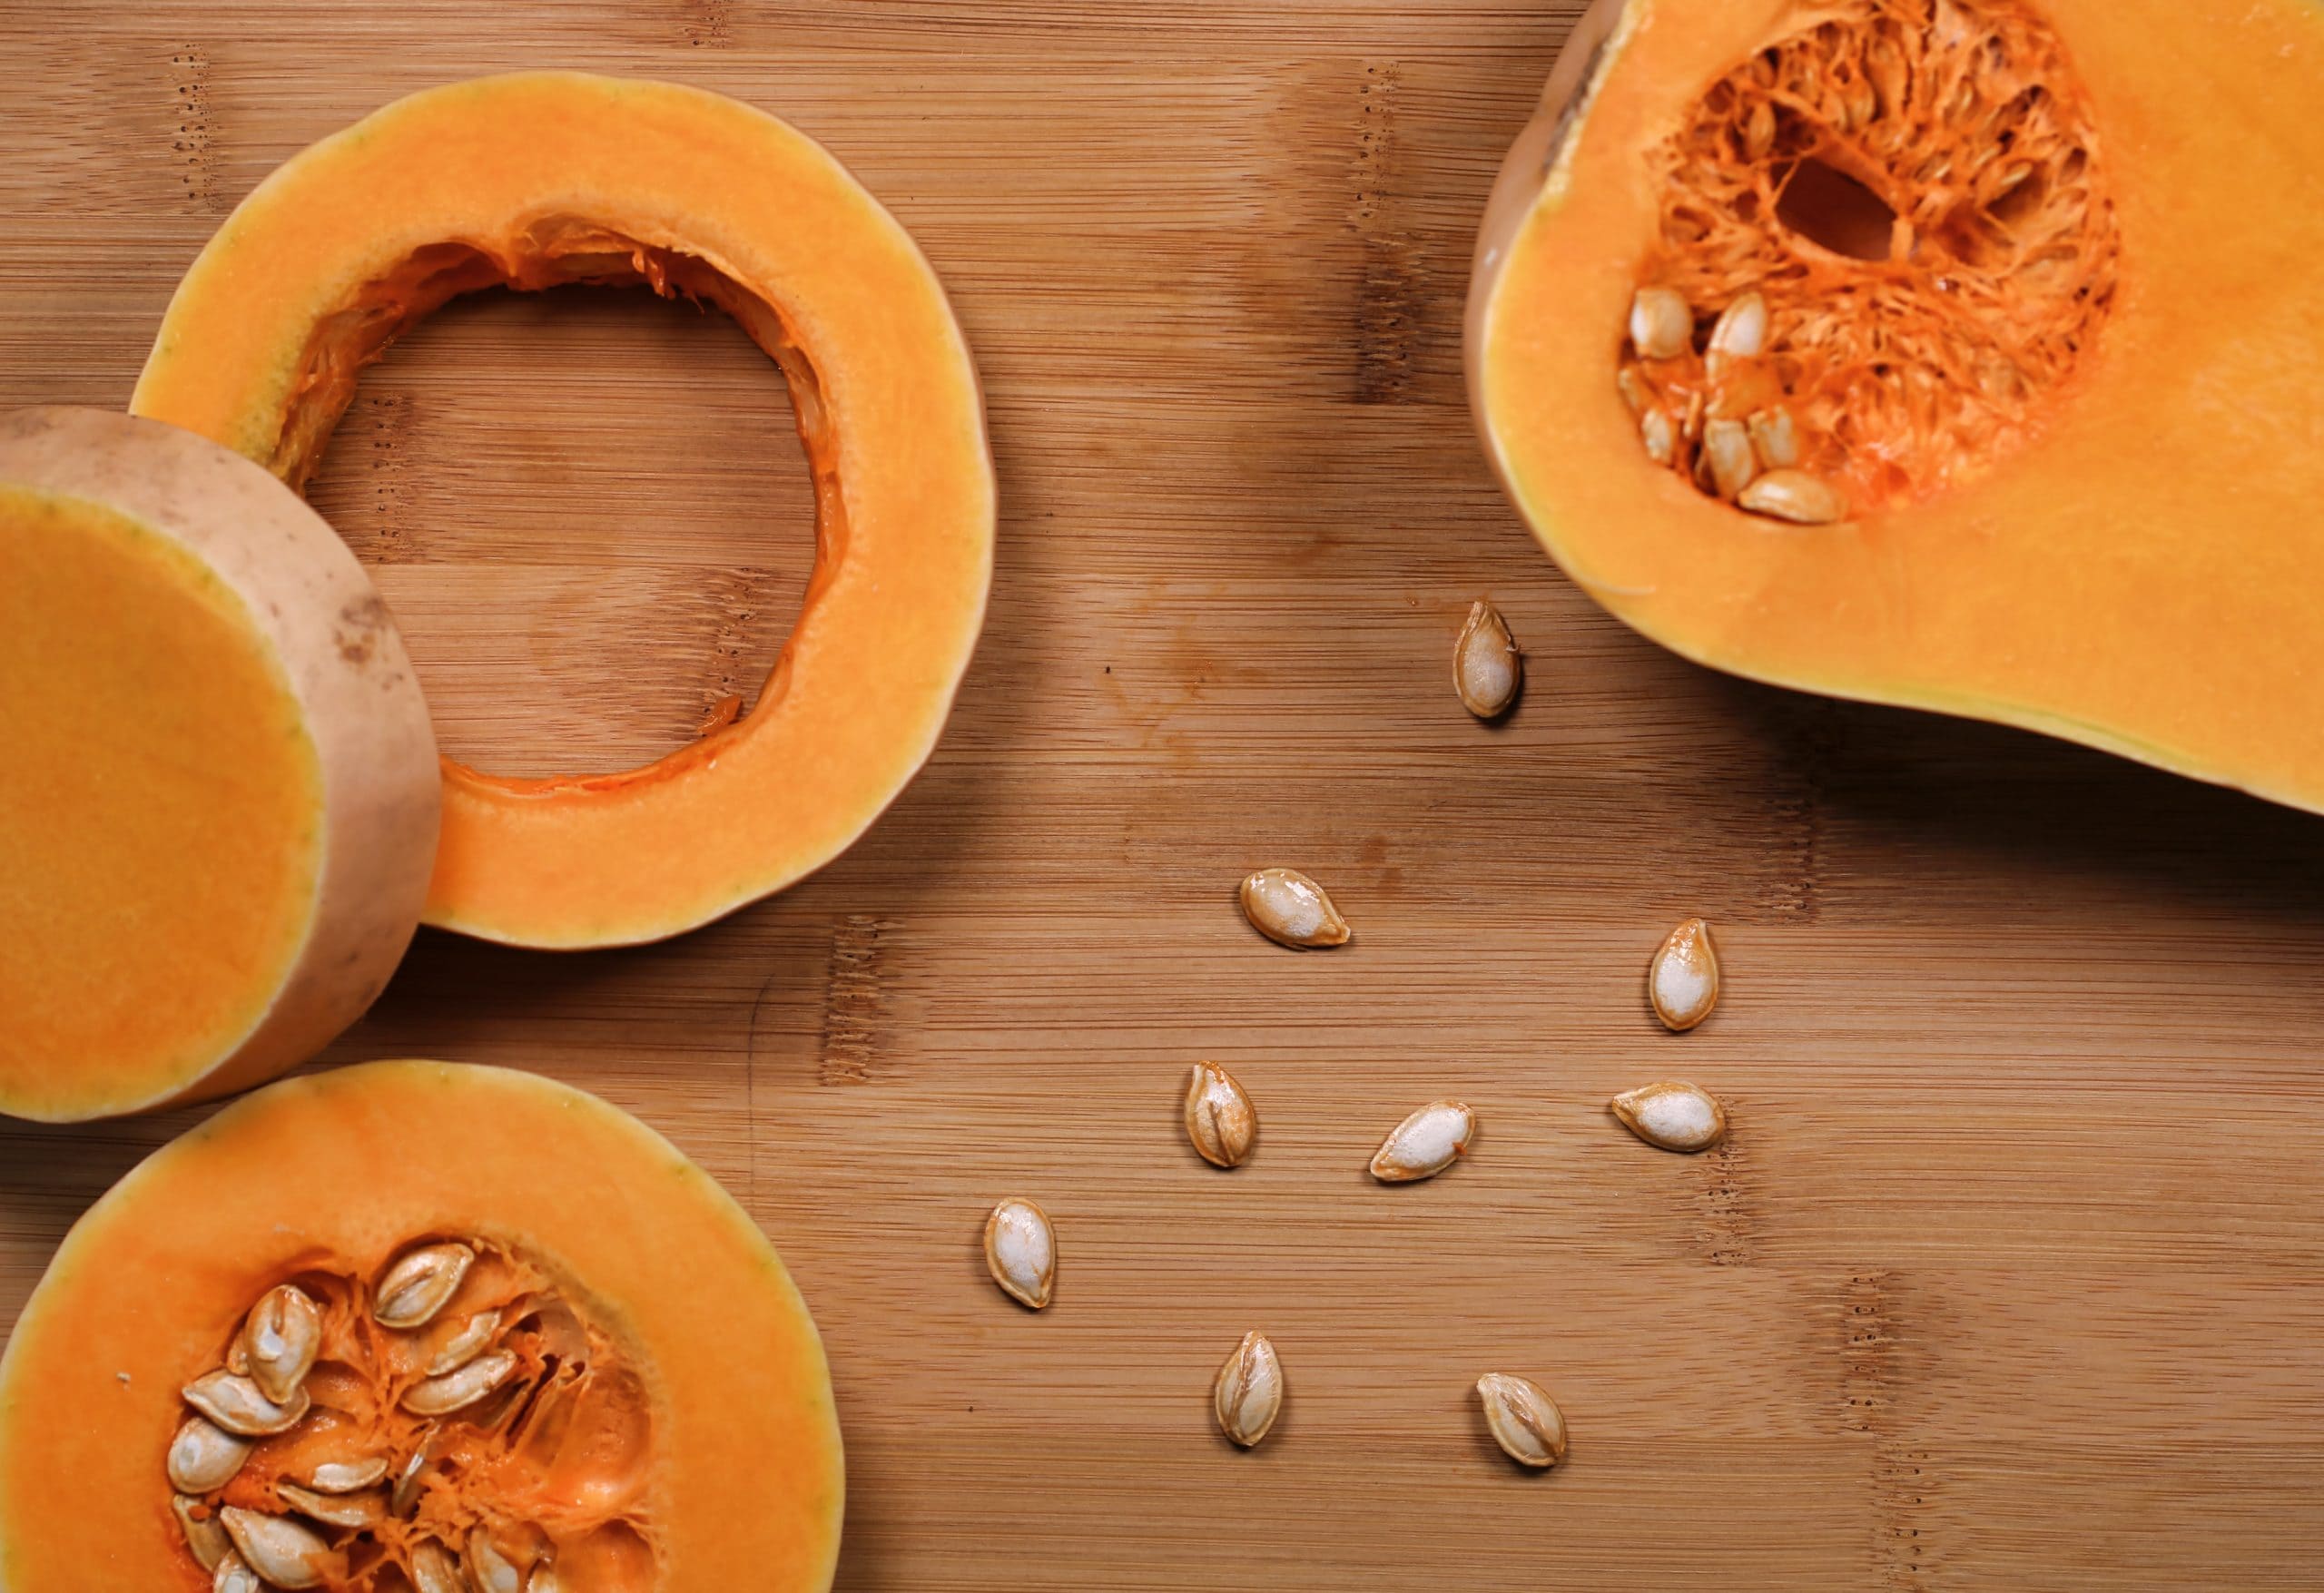
Autumn recipe: spaghetti squash au gratin in the oven
A desire for a comforting dish without spending hours in the kitchen? This month ZeroWaste Switzerland takes you…